
Planting Your Souls ’n Bloom Daylily: A Complete Guide

Unpacking Your Bare Root Lily
When your lily arrives, open the package as soon as possible.
- Remove all packing materials gently
- Inspect the roots — healthy roots should feel firm, not mushy
- A slightly dry appearance is normal after shipping
- If planting within 24 hours, keep roots cool and shaded
- If delayed, lightly mist roots and store in a cool, ventilated area
Bare root lilies are resilient, but timely planting helps reduce stress.

Cleaning & Preparing the Roots
Before planting, give your lily a brief refresh.
- Rinse roots gently with clean water to remove debris
- Trim any broken or excessively long roots (optional)
- Remove dead or damaged foliage if present
- Do not soak longer than 1–2 hours unless roots are extremely dry
This step rehydrates the plant and prepares it for immediate soil contact.

Choosing the Right Location
Daylilies thrive when planted intentionally.
- Select an area with at least 6 hours of sunlight daily
- Morning sun with afternoon shade works well in hotter climates
- Avoid low-lying areas where water pools
- Ensure good air circulation around the plant
Sunlight directly affects bloom count and color vibrancy.
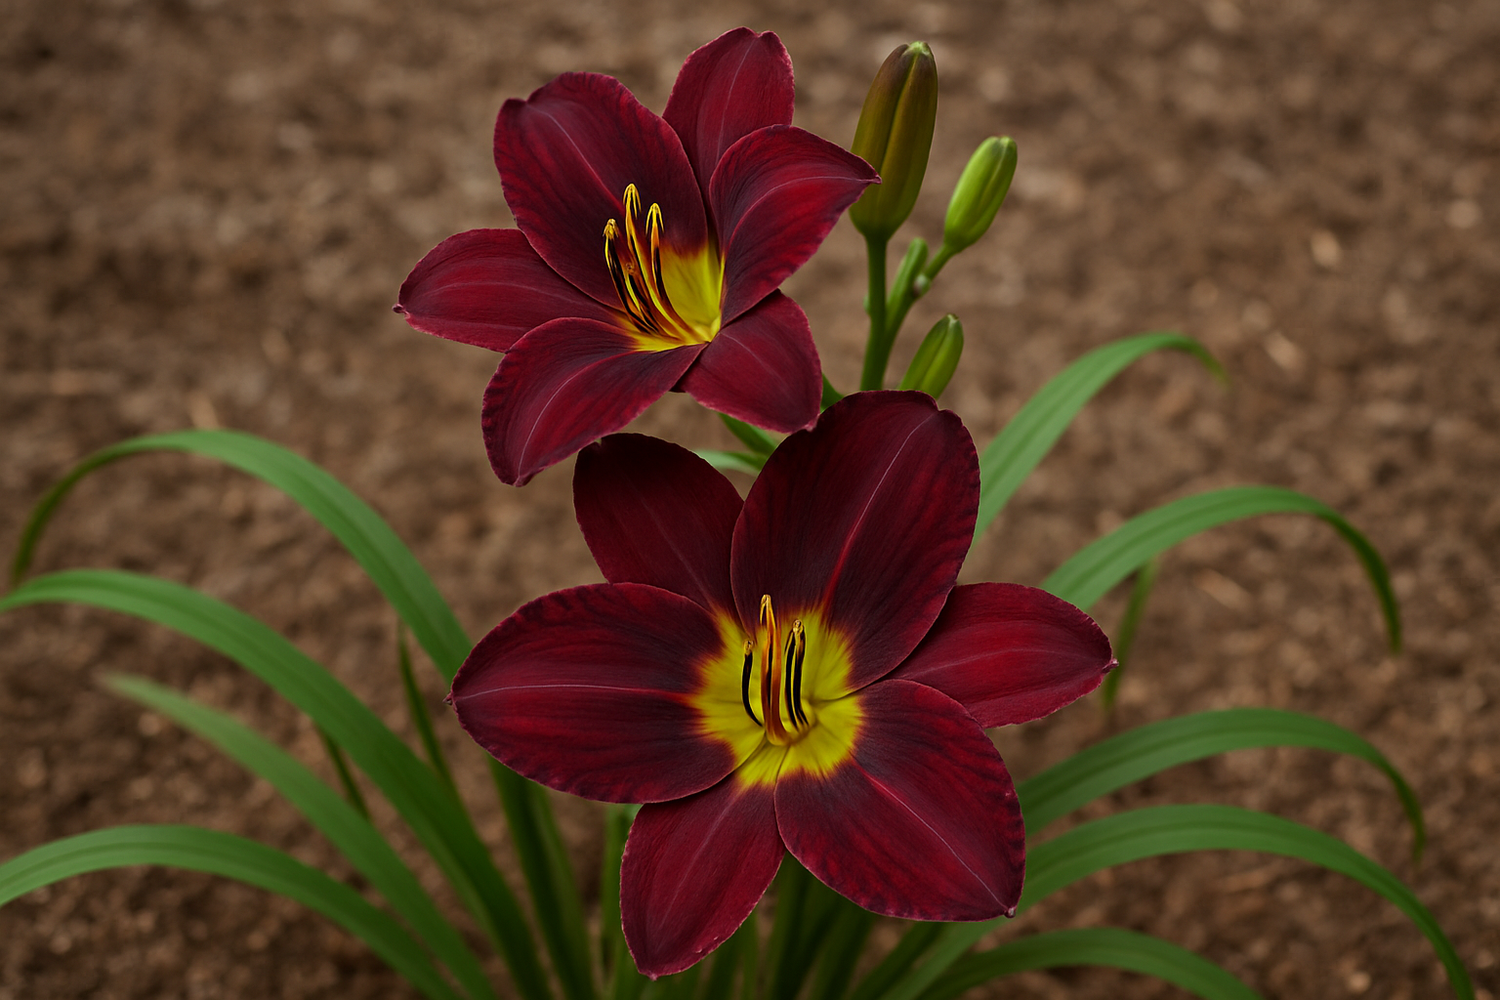
Understanding Soil Health & Preparation
Healthy soil sets the foundation for long-term success.
- Well-draining soil is essential
- Loamy or sandy loam soil is ideal
- Amend heavy clay with compost or aged organic matter
- Aim for a neutral to slightly acidic pH (6.0–6.8)
- Avoid fresh manure or overly rich fertilizers at planting
Loose, breathable soil encourages strong root development.

Planting Depth & Technique
Proper planting depth is key to reblooming.
- Dig a hole wide enough to spread roots comfortably
- Create a small mound in the center of the hole
- Place the crown (where leaves meet roots) 1 inch below soil surface
- Fan roots outward and downward
- Backfill gently, firming soil without compacting
Planting too deep can delay blooms; too shallow risks root exposure.

Watering After Planting
Watering supports early establishment.
- Water thoroughly immediately after planting
- Keep soil consistently moist for the first 2–3 weeks
- Avoid soggy conditions or standing water
- Once established, water deeply once or twice weekly
- Increase watering during extreme heat or drought
Daylilies prefer deep, infrequent watering over daily shallow watering.

Replanting, Dividing & Relocation
Daylilies are remarkably forgiving when moved correctly.
- Best time to divide or relocate: early spring or early fall
- Dig the entire clump carefully
- Separate fans gently using hands or a clean tool
- Replant immediately using the same depth guidelines
- Water well after transplanting
Dividing every 3–5 years improves bloom performance.

Ongoing Care & Maintenance Best Practices
Once established, upkeep is simple and rewarding.
- Remove spent blooms (deadheading) to encourage reblooming
- Cut back foliage after frost or once yellowed
- Apply balanced fertilizer lightly in early spring
- Refresh mulch annually, keeping it away from the crown
- Monitor for pests, though daylilies are naturally resilient
Consistent care results in healthier plants and more abundant blooms.

What to Expect in the First Year
Understanding expectations prevents disappointment.
- Some lilies may not bloom the first season
- Energy is often focused on root establishment
- Bloom size and count improve each year
- Reblooming varieties may bloom later in the season
- Patience is rewarded with long-lasting beauty
Each year, your lily becomes stronger, fuller, and more expressive.

A Living Gift That Grows With Time
Planting a Souls ’n Bloom daylily is more than gardening — it’s an act of intention. With the right care, your lily will return year after year, becoming part of your garden’s story and your life’s milestones.